


How to apply Aussie Décor Luxe Decoupage Paper - by Kelly from Olive & Whyte

How to apply Aussie Décor Luxe Decoupage Paper - by Kelly from Olive & Whyte
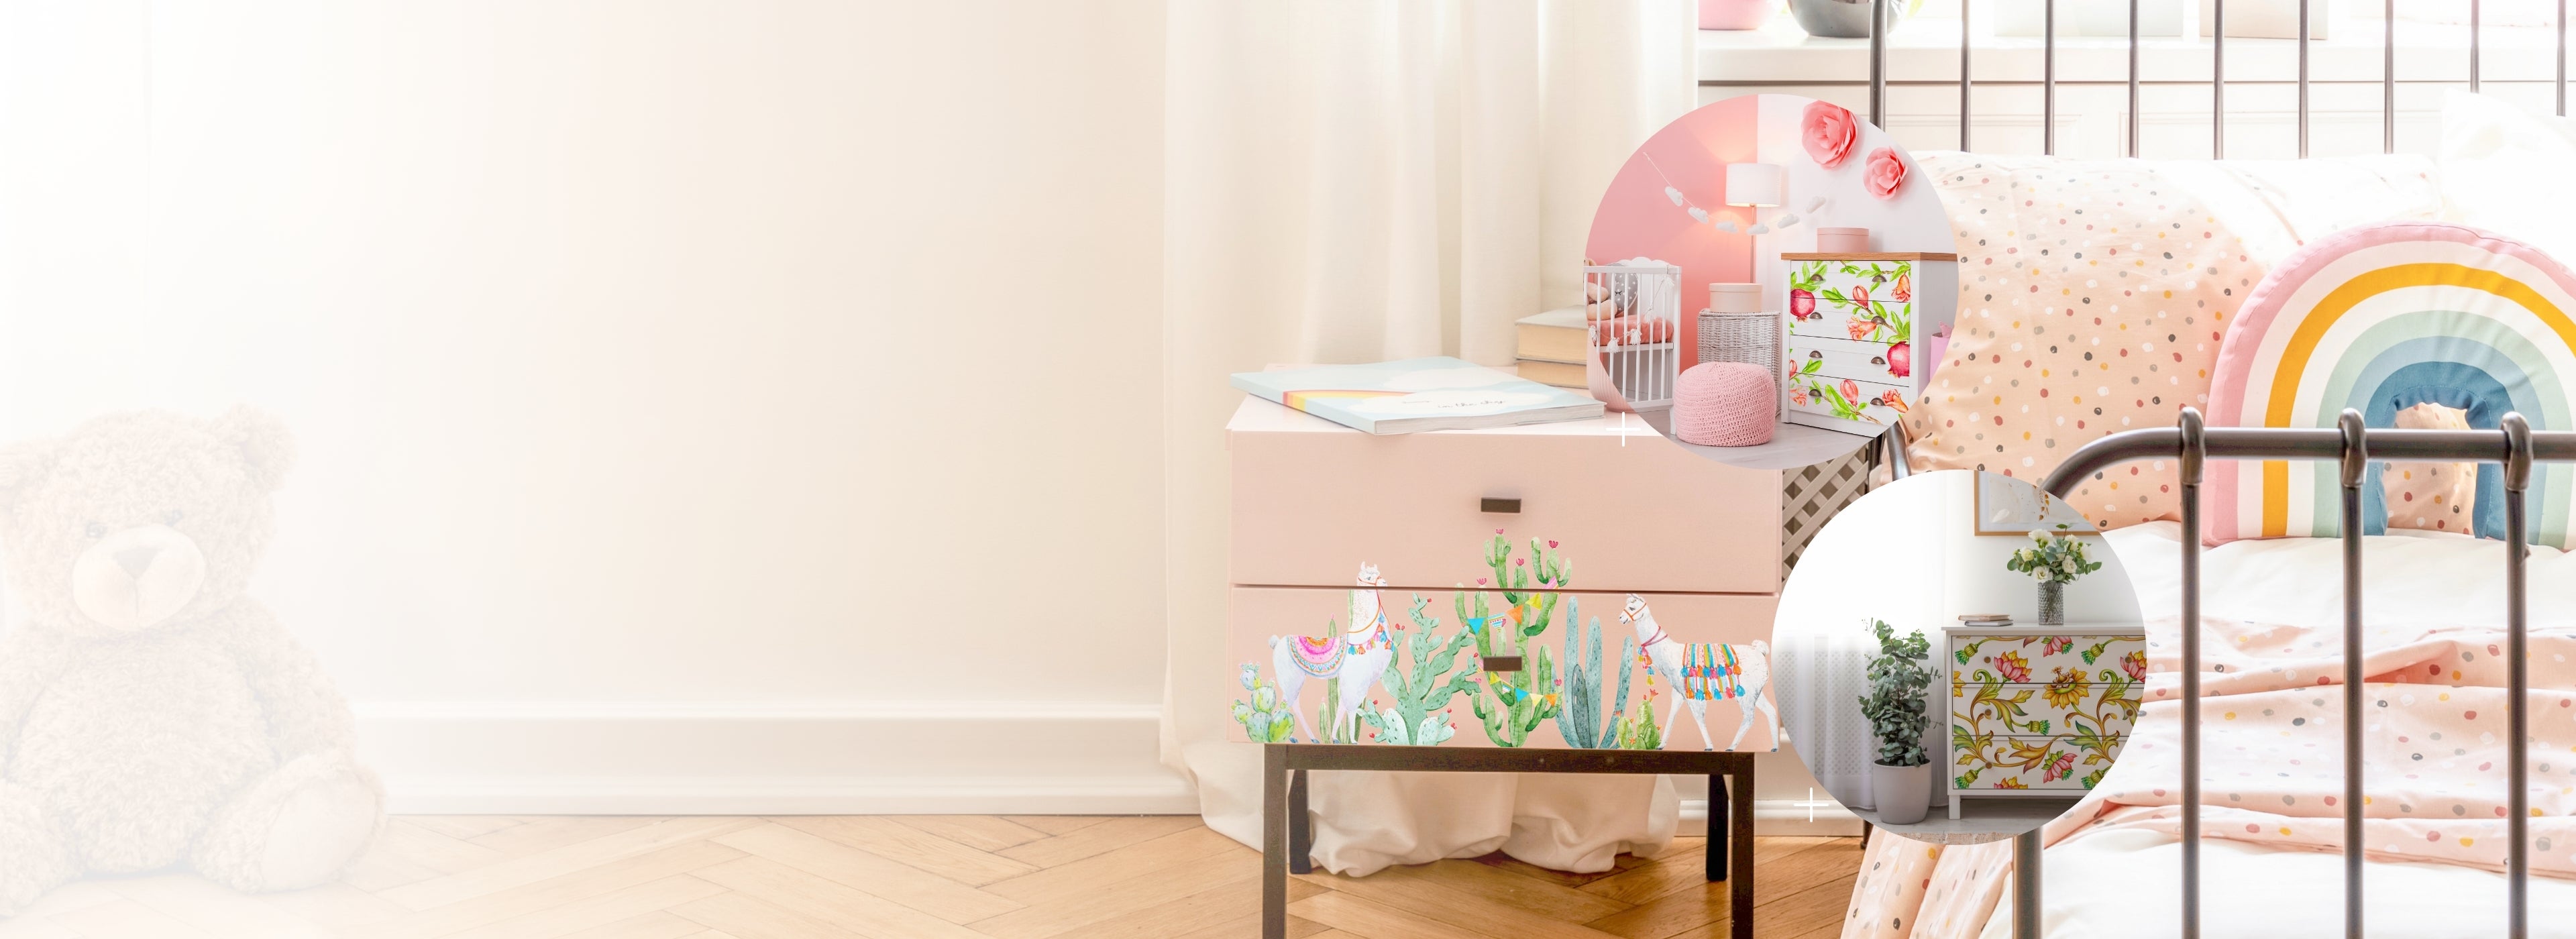
Where do you begin when creating a piece of furniture using Aussie Décor Transfers Luxe Decoupage Paper? In this blog I will take you through my process for creating this small chest of drawers using the Luxe Decoupage Paper “Gemstone Abstract”

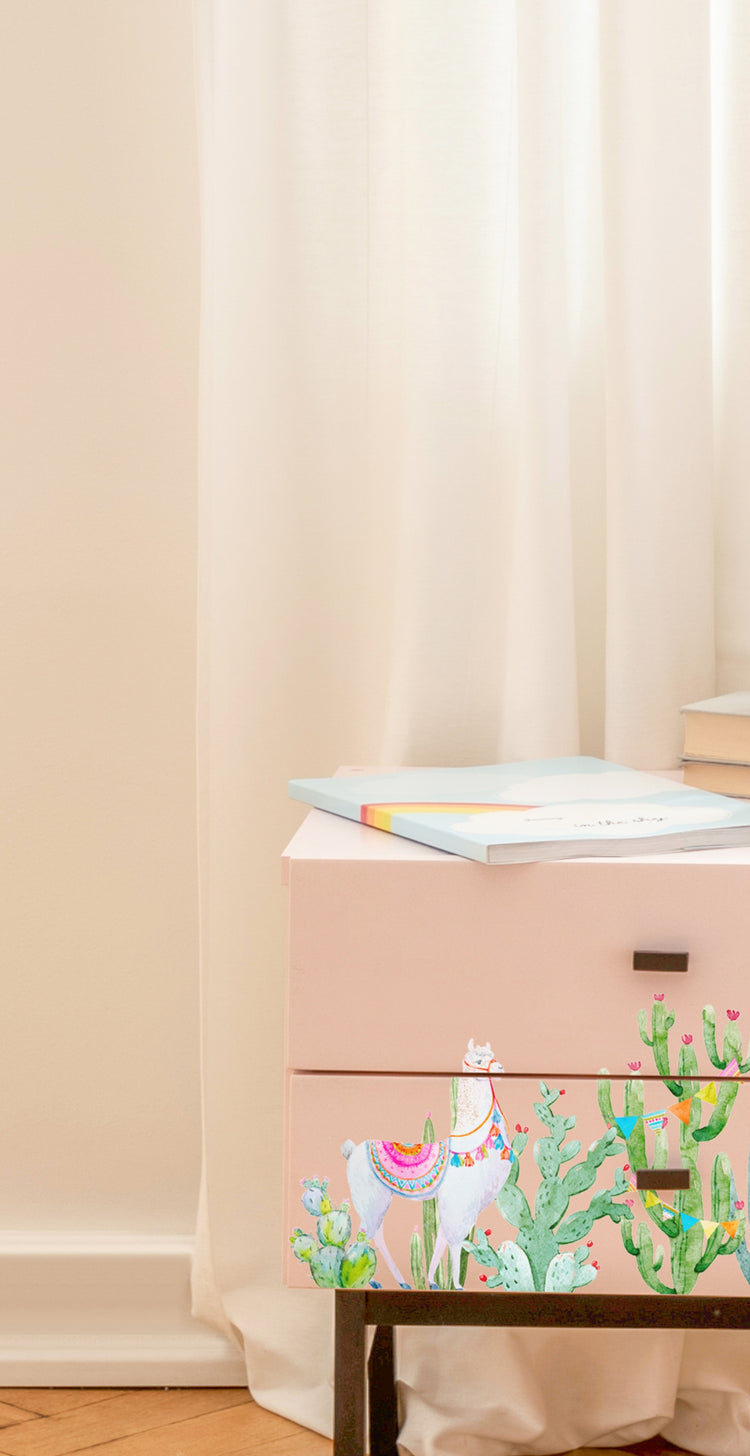
Furniture can be found anywhere, from charity shops to Facebook marketplace or even on the side of the road (if you get lucky). I picked this piece up from FB marketplace for £10.

Step 1 – Prep
If there is one step that you cannot miss, it is the prep stage. No matter how good the products you use are, without the right prep your piece will not stand the test of time.
Firstly, remove any handles (if you are planning to reuse them set them aside until later) check your piece for any minor damages that may need to be repaired, any missing veneer that may need filled. Are the drawers running smoothly? Are there any small holes that may need to be filled in. Check over your piece carefully and ensure all small repairs are made before the next step.
Once any repairs are made, you can move onto sanding. This is a crucial step. Your furniture needs a key sand (also called a scuff sand) as a minimum. What do I mean by a key sand? Take a 80 or 120 grit sandpaper and sand your entire piece, legs, drawers, sides etc. Ensure you sand every area that you plan to paint at a later stage. The aim of a key sand is to ensure the entire surface is “roughed up”. You want to remove any shiny surfaces. If your paper is leaving scratch marks on your piece your sandpaper is too coarse in grit. Start with 80 and move to 120 if the sandpaper is causing damage. The key is to get a rough surface without damaging the piece.
Once you have completed the sanding stage you can then move on to cleaning your piece of furniture, this again is a very crucial step. Your paint will not stick to your furniture if it is not cleaned properly. The paint will stick to the dirt, which over time will come away from your piece of furniture, leaving it chipped and damaged.
There are plenty of products on the market designed specifically for cleaning furniture prior to painting - from sugar soap to TSP. You can use any of these products and they work well, but my go to product is White Lightening. I mix two tablespoons in a bucket of warm water and get cleaning. I use a lint free cloth and an old toothbrush to really clean the piece! Yes, you heard me right a toothbrush lol, cleaning is serious business, and a toothbrush is perfect for getting into awkward corners. Once I’ve completed a first wash, I change out the water and go again. White Lightening needs to be completely removed from your furniture before the next step, so once I’ve completed two washes, I then clean the piece with clean water. I usually repeat this process 3-4 times until the water runs clean.
At this stage I would recommend that you let your piece sit for several hours, preferably overnight to ensure it is completely dry.
The next stage in your furniture prep is to prime your piece, there are so many reasons why you should never miss this step even if the paint you use suggests this step is not necessary.
- Primer will seal your wood and stop stains appearing through your paint
- If your piece is a bit smelly a good primer will neutralise any odours
- It will also reduce the number of coats of paint required
Before you apply your primer make sure to tape off any parts of the piece that you don’t want painted. Think about the sides of drawers and drawer liners too.

I usually use Boss primer, but there are several options on the market. Find one that works for you. Apply one or two coats, check your piece once fully dry for any stains or smells seeping through the primer. If this occurs add another coat. Again, I would recommend leaving your piece for several hours to fully dry before moving onto step two.
Step 2 – Painting your piece
Your piece is now ready to paint, if you have done your prep properly this should be an enjoyable process. But firstly, you need to choose your brand and your colour. I love so many different paint brands that I would never recommend just one. For this piece I chose to use DB Peacock because it had the perfect blue shade to match the Gemstone Abstract Luxe Decoupage Paper
To ensure your piece has a beautifully smooth professional finish, I would recommend you invest in good quality brushes. Again, there are many on the market. I usually use Frenchic brushes, they are a good quality at an affordable price. I use brushes for the smaller detailed areas of my piece but for larger surfaces such as flat drawers, tops and sides I would recommend using a mini roller for that clean streak free finish.
Top Tip – Line your paint trays with tinfoil for an easy clean up

Apply your first coat of paint and leave to dry for at least an hour before applying a second coat. The number of coats required will depend on your paint brand and colour. Apply coats (allow ample time to dry) until you have complete coverage and consistency.
If you are planning to apply further media to your piece after this stage such as furniture transfers, taping effects or decoupage papers, then I recommend you allow the paint to dry for at least 24hours before moving forward. Longer would be desirable to allow for complete cure & dry time.
Step 3 – Applying your Luxe Decoupage Paper
Your piece is now ready for the magic! Aussie Décor Luxe Decoupage Papers are so easy to work with and every order comes with step-by-step instructions on the best way to apply the product. If you need to ask questions or want to see what others have done, visit and join Aussie's Creative Club Facebook Group.
Make sure you have all the tools and products you will need before you start applying your paper:
- A long mist water spray bottle. I love Aussie's Mister bottles because they have an aluminium water tank base and a looong misting action which I love.
- The Aussie Décor Transfer Blue Decoupage Applicator Tool with it's felt edge makes this a simple task with no wrinkles.
- Adhesive – I use Polyvine topcoat but watered down PVC will also work well
- A brush to apply your adhesive
It’s best to work in small sections when applying your paper. With this chest of drawers, I took each drawer as a section and worked my way down. I started by applying my topcoat to the top 3rd of the piece. I applied it with a brush to ensure I achieved an even coverage. I then sprayed the back of the decoupage paper with water using my misting bottle. The water works as a sucking agent that allows the paper to be applied easier and eliminates most of the air bubbles that can get trapped between your furniture and the paper.
Apply the paper to the section you have prepped, you can then use the blue tool applicator to add gentle pressure to smooth out any bubbles/wrinkles. It’s easier to start in the middle and work your way out to the edges, as this pushes the air out to the sides. Continue to work the paper until you are happy with the section you are working on. Once you are happy, continue to the next section, again applying topcoat and spraying the back of the next section of the paper.

Continue to work in sections and use your blue tool applicator as you work your way down your piece.
Apply the paper over any gaps in the piece where the drawers open, this can be cut once the paper has completely dried.
The Luxe Decoupage Paper is durable enough to be moved several times if you find you want to reposition it, so don’t be afraid to maneuver the paper, just don’t be too rough.

Once you have completed the application leave your paper to completely dry before cutting off any excess paper.

When you are happy that the Luxe Decoupage Paper is complete dry, you can then begin to remove the excess paper and cut out the drawers. Take your blade and gently slice through all the drawer edges. You can also use your blade to remove the excess paper around the edge of the piece however I prefer to use sandpaper to ensure I achieve a really smooth edge.

Once I have cut through the drawer edges, I also go back around with the sandpaper to create the smooth edge around the entire piece. This ensures that your paper won’t “catch” when drawers are opened and closed. Make sure you sand gentle in a direction away from the paper. Use a 120 or 200 grit for this step as you don’t want to sand away the design.
Top Tip – Use sandpaper and a sanding block to remove excess paper from the edges of your piece.
You will also need to puncture your handle holes. Again use your blade to pop a hole in the paper.
Step 4 – Protecting your furniture with topcoat
This is the final stage, and you are almost ready to show off your fabulous creation! Before you do however, you want to make sure your piece is protected for years to come. As with the other products I have spoken about in this blog, there are many topcoats on the market. I’ve tried most of them over the years, but my prefered product is Polyvine UK. There is no real science behind my choice, it’s just personal preference and it works best for me. You can also choose between a matte and satin finish. For this piece I opted for matte.

**Important information – For all Aussie Décor Transfer products you MUST use a water based topcoat. If you want to use another product on your piece (eg. Decorative waxes, glitter, foils etc) that is absolutely fine but please ensure you seal with a water based product first.
Apply your topcoat in the same way you would apply your paint. I use a combination of brushes and rollers as I do with my paint. I apply a minimum of three coats. Topcoat needs longer to dry between each coat, so make sure to read the instructions of the product you choose to use. Take the time to ensure your entire piece is protected, apply top coat to all paint and product that you have already applied to your piece.
Once your final topcoat has been applied leave to sit for at least 24 hours before you replace handles and any other accessories you need to add back onto your piece. And that is it, you’re done!!

Don’t forget to share any of your creations to our Facebook page
Written by Kelly from Olive & Whyte
1 comment
Omg! Yalls decopage papers ARE INCREDIBLE! JUST ABSOLUTELY GORGEOUS 😍